


I have always said that the bathrooms at 443 look like a gas station in a third world country.
Not CBGB bad, but still pretty sad and gross.
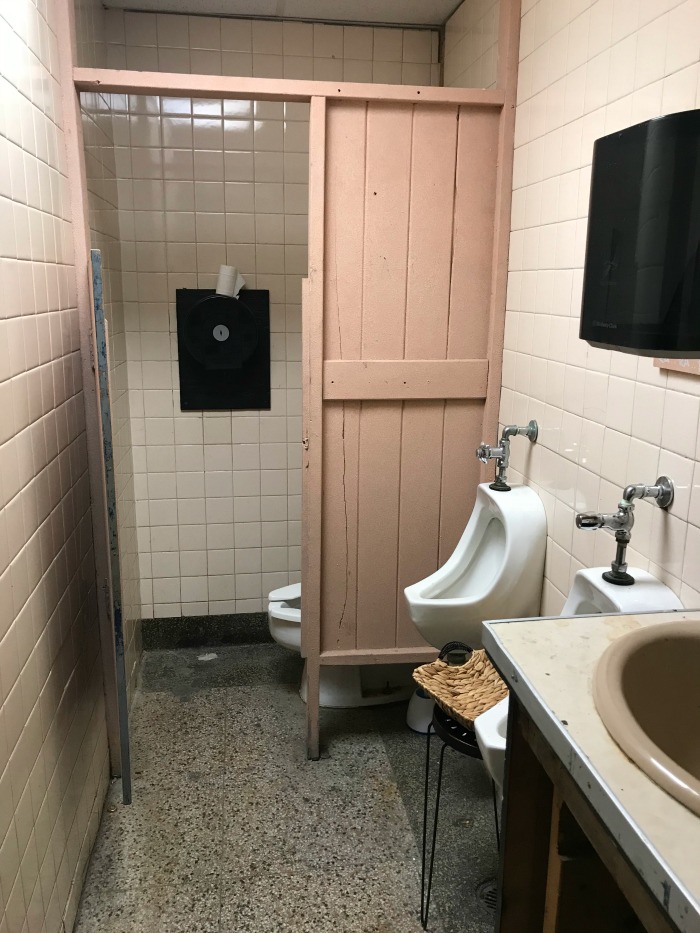
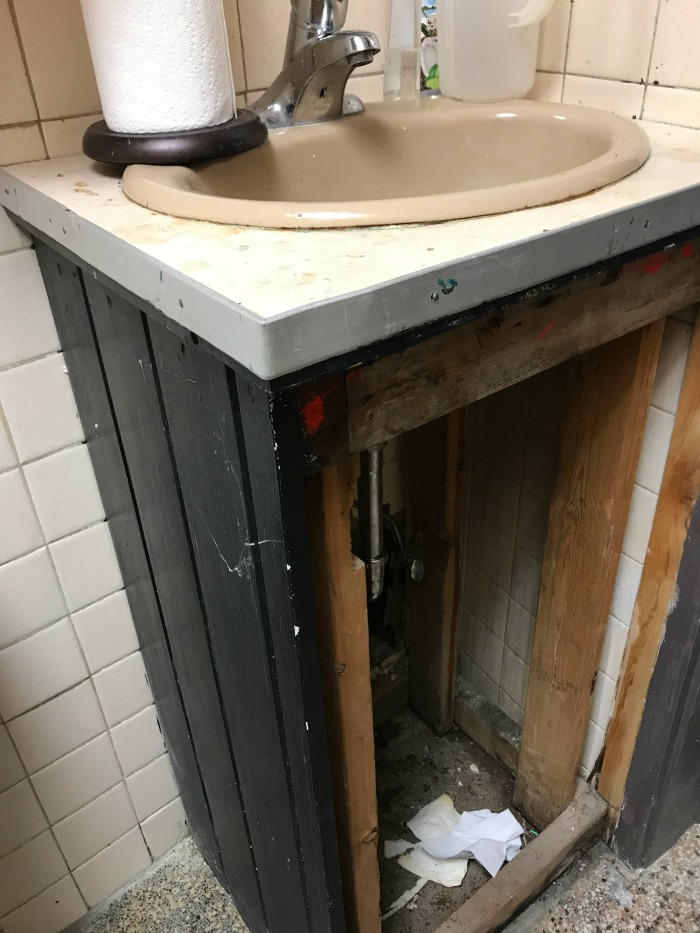
The teeny-tiny men’s room featured a pair of urinals positioned a little too close for comfort. The cracked door to the stall for the toilet had been sprayed with granite textured spray paint, rendering it impossible to clean. The tiles were in rough shape and the handmade vanity was several inches higher than standard, not to mention falling apart and filthy.
You can’t see it in any of the pictures, but the ceiling tiles were wrapped in dirty red and blue fabric and the door had graffiti carved into it.
It was very special.
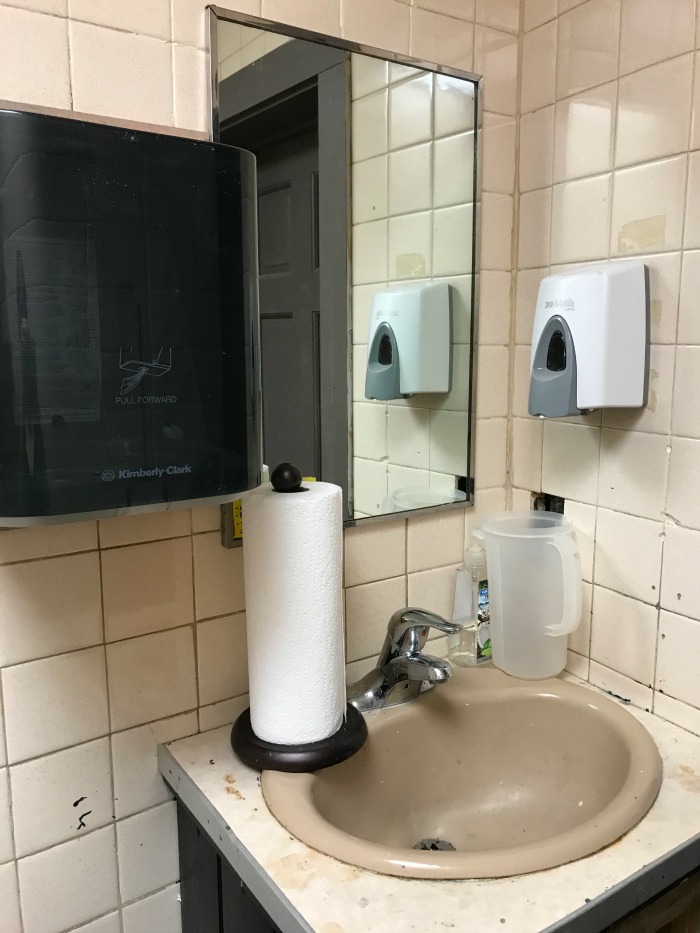
Somehow this is the only photo I took of the ladies room when we started. It was in similarly awful condition. Most of the dropped ceiling tiles were gone, there was another ratty handmade sink vanity with no door, chunks of tiles were missing from the walls, and the two stalls were divided up with raw drywall. The terrazzo floors were in bad shape. The front stall wasn’t a bad size, but the back stall had barely any floor space around the toilet – it was a really strange setup.

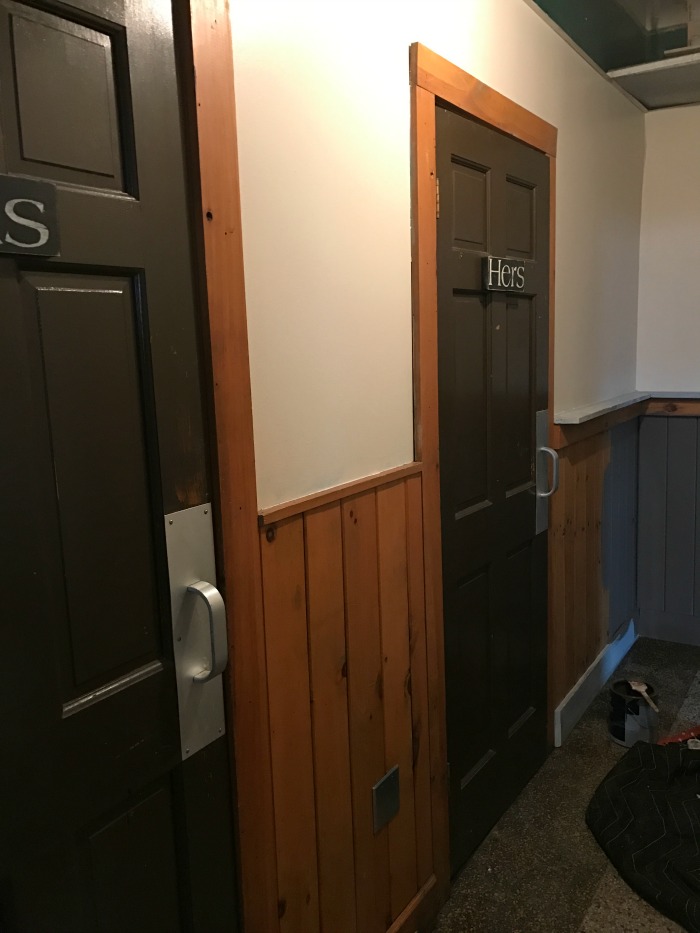
The little hallway that leads to the bathrooms was pretty bad too:
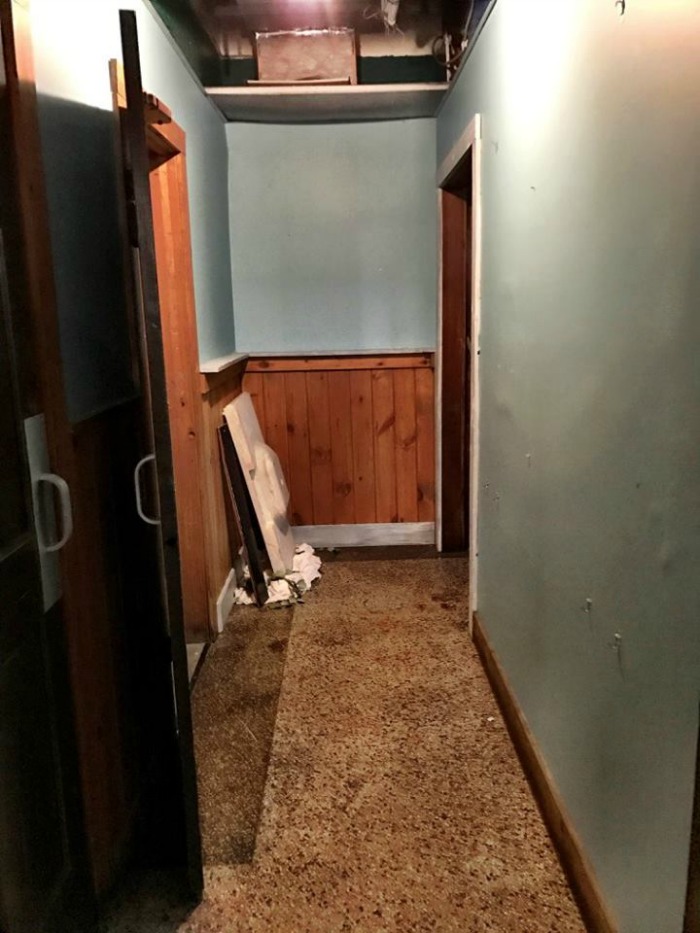
More missing ceiling tiles, orange knotty pine paneling and an old marble bathroom sink parked in the corner that weighed about 1000lbs.
We know that we are going to have to completely gut both bathrooms at some point. Ideally, I’d like to make them both unisex, single user, ADA compliant facilities. But – we know there is no telling what we’ll uncover once we start tearing walls down, plus we have SO MUCH money flying out the door right now.
Did I mention we’re launching this business on a shoestring?
It was tempting to just start tearing down the crummy tiles, but we all agreed that the smartest course of action was to make the best of what we have and make it “okay for now”. We will do what we can to make cosmetic improvements and plan on a complete remodel in a year or so.
Confession: I am better than anyone I know at visualizing “potential” in even the most hopeless DIY project…but I have to admit – I was not feeling very optimistic about what these bathrooms were going to look like on opening day.
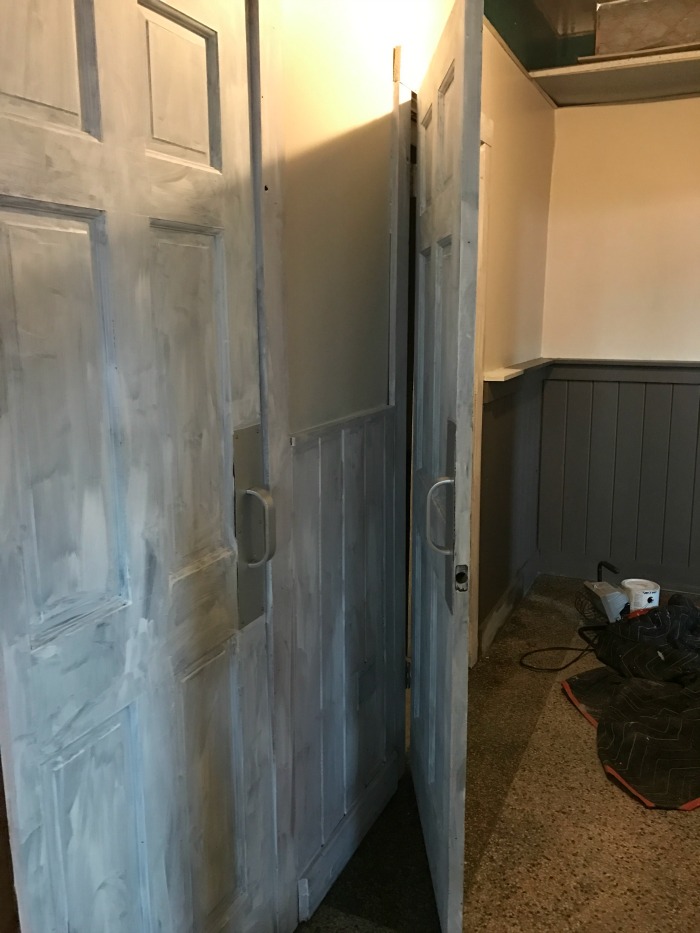
My last day at my full-time job was Mother’s Day, so at this point, I was spending most of my days in the room painting and working on various projects. I started out by priming all the knotty pine paneling and the doors, followed by a couple of coats of the same brown paint I used in the main room.
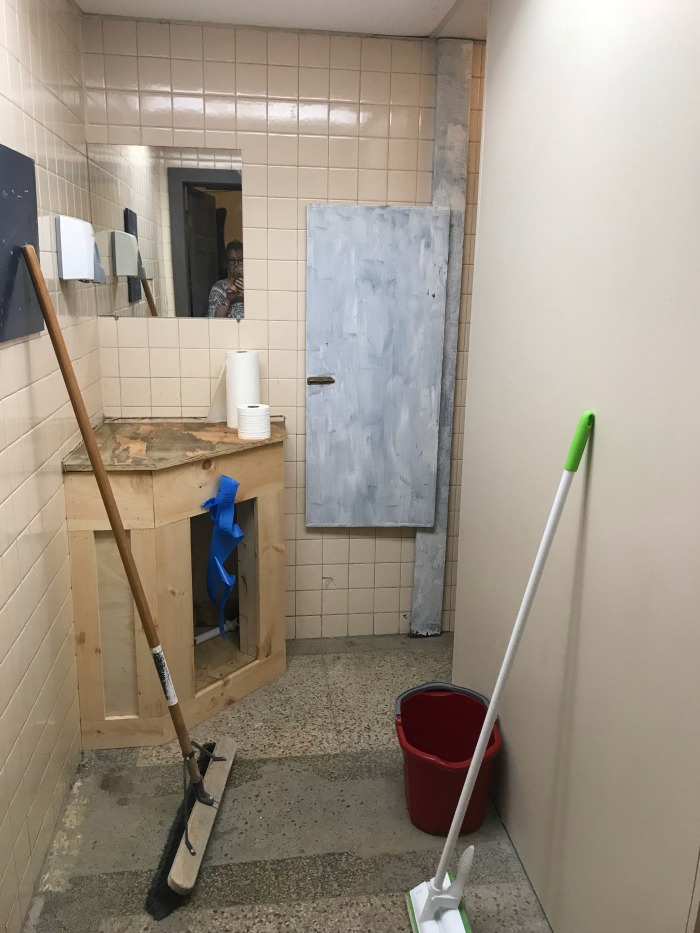
Mike began rebuilding the vanities and the boys added new ceiling tiles, which made a massive difference. I primed and painted the raw drywall.
Both rooms have started looking better – but we still have a loooooong way to go.